
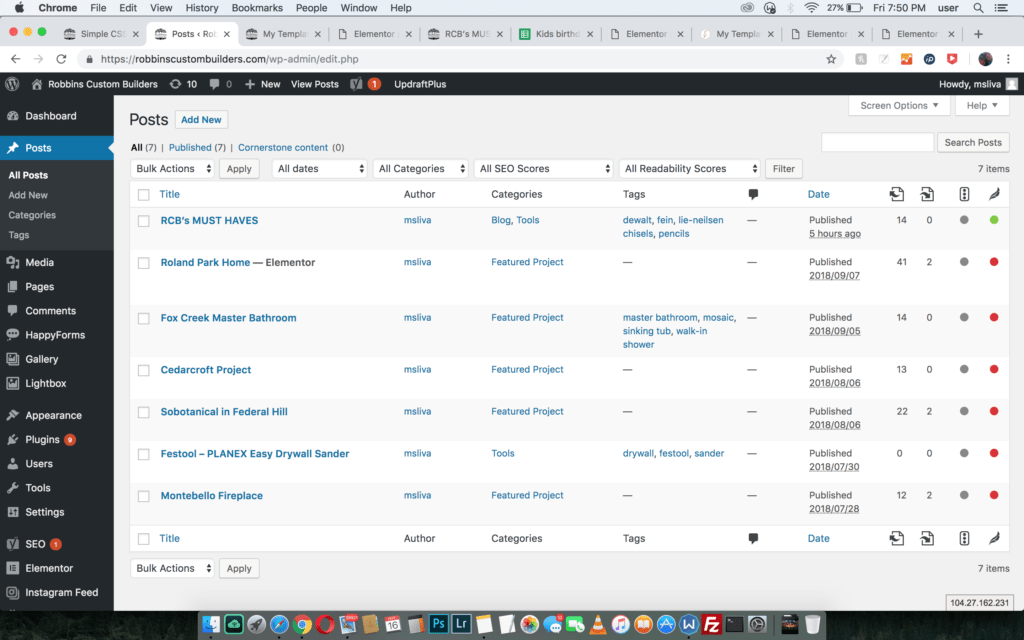
Log in and click on the posts tab. Then Click Add New…
Here add your post title. On the right you can add your featured image. The featured image is the image that will show on the blog post listing. Here you can use the WordPress editor to add content to your post.
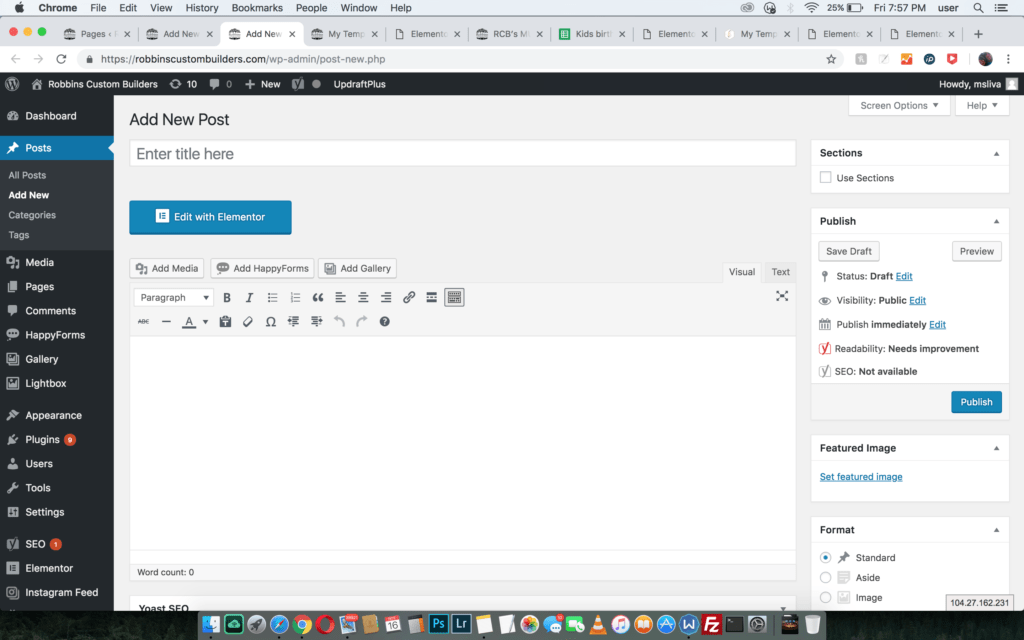
If you have multiple pictures, you can try to use the Add Media button, just under the Edit with Elementor button.
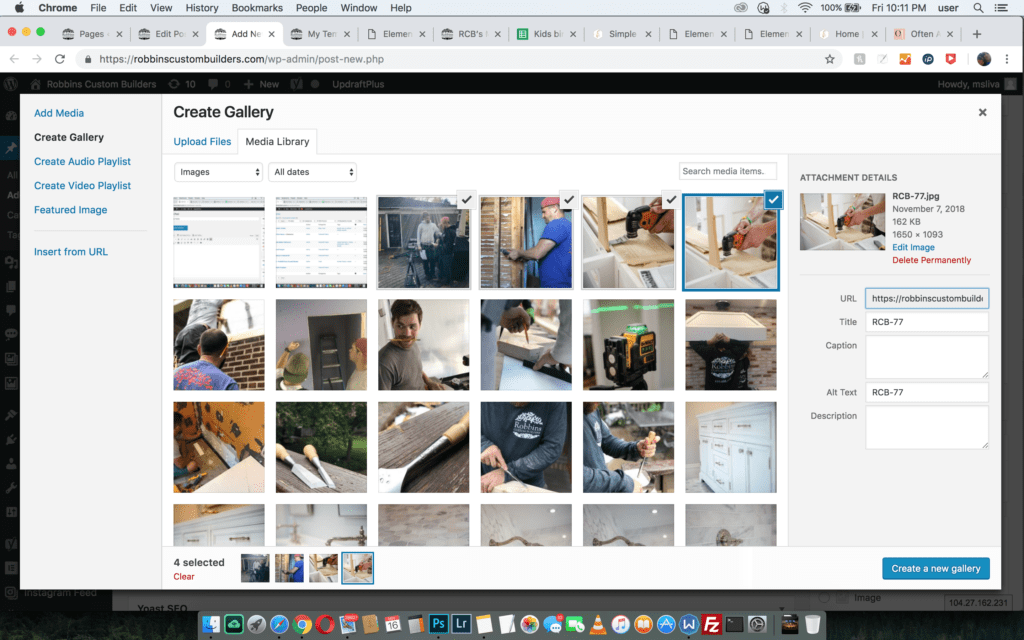
Click on Create Gallery and select the images you want to use then click Create a New Gallery
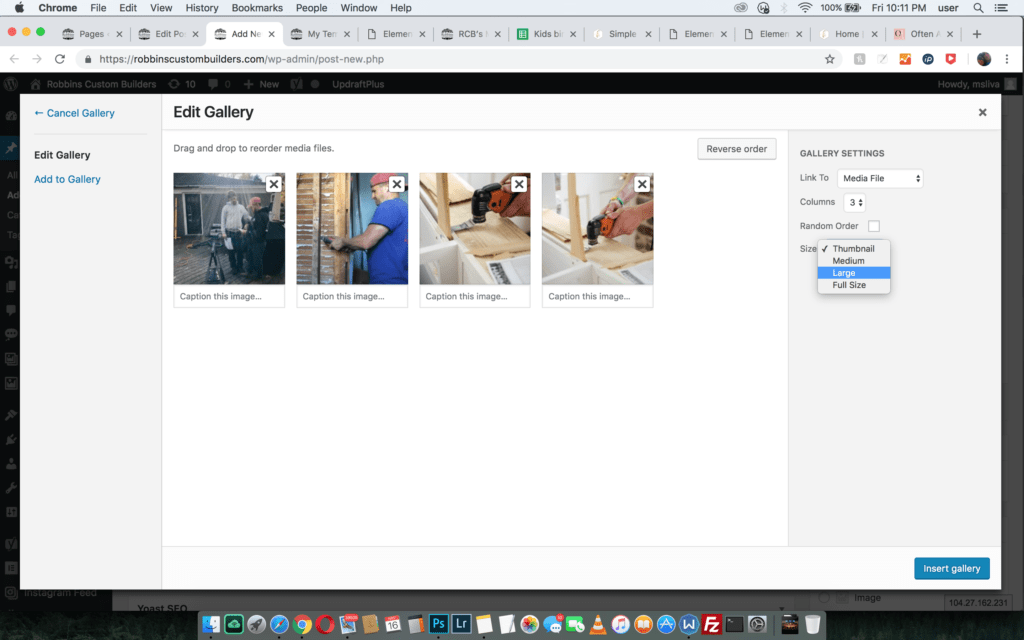
Under Gallery Settings change Link To to Media File and Change Size to Large
Click Insert Gallery to finish.
To finish your post under Categories you should select Blog for every blog post, you can also add a second category for something more specific.
Here you would add tags as well

When your post is finished you can click Publish to Go Live with your post or click Edit next to publish immediately to schedule your post for a later date. Click save draft to save a revision that you can edit further or publish manually later.
Hope this helps!